A window feed-through (window pass-through) lets you bring coax and a ground into your station without drilling. When installed well, it also keeps the window insulated and secure. This guide shows a clean install using a Micro Patch feed-through and Window Wing Kit from Rocket Machine Worx (not sponsored), plus tips that apply to most similar products.
- Materials & Tools
- Unbox & Inspect
- Measure the Window
- Assemble the Panel
- Cut to Length
- Add Weather-Seal
- Test-Fit & Adjust
- Attach Ground & Coax
- Finish & Secure
- FAQs
Materials & Tools
| Item | Notes |
|---|---|
| Window feed-through (e.g., Micro Patch) | Stainless center plate + 3× SO-239 bulkhead connectors |
| Window Wing Kit | 2× marine-grade HDPE wings, gaskets, anti-seize, bolts |
| 10 AWG green grounding wire | Crimp lugs & stainless hardware |
| ⅜″ foam weather-strip & seal tape | Improve insulation and draft control |
| Window lock bars (10″–16″) | Apply pressure; add security |
| Optional lightning arrestors | Install near the ground rod outdoors |
| Tools | Tape measure, square/triangle, marker, hacksaw, file, wire strippers, driver/wrench |
Where to Buy the Window Feed-Through Parts
- WindowWing Kit – HDPE wings + gaskets sized for sash installs.
- MicroPatch pass-through panel – stainless center plate with PL-259 bulkhead connectors.
Not sponsored—these are the exact parts used in our build.
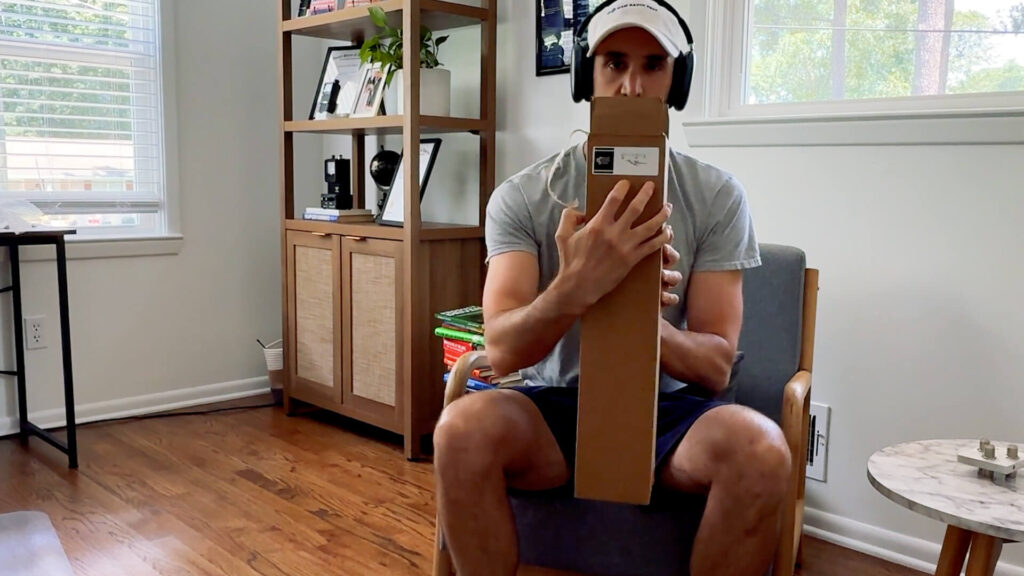
Unbox & Inspect
Confirm the contents: the stainless center unit with coax connectors, two HDPE wings, gaskets, and four bolts. Dry-fit the parts to make sure threads and holes line up cleanly.
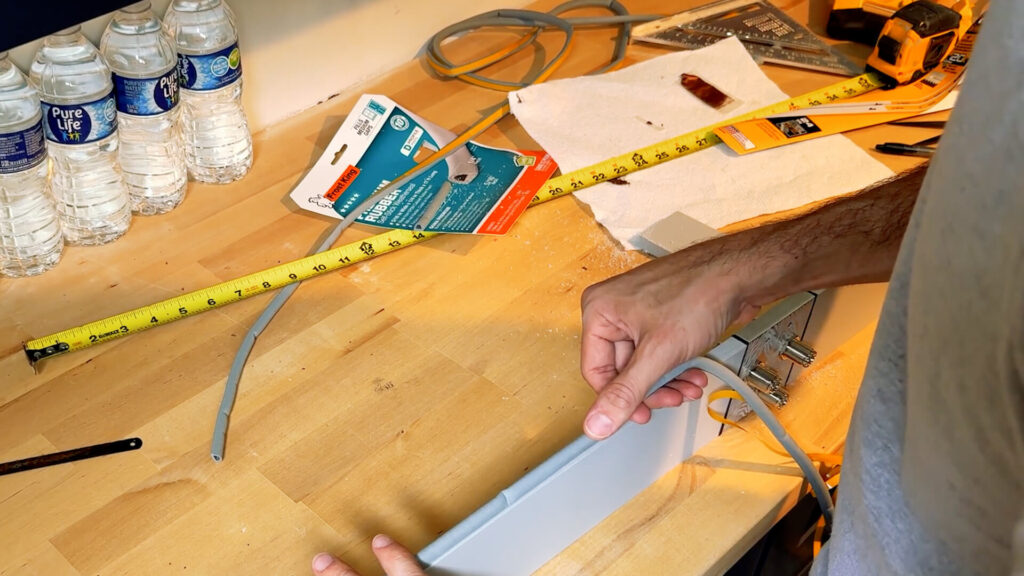
Measure the Window
Windows have grooves and ridges. Measure the exact opening width where the panel will sit. Close the window gently to see how the sash compresses the wings. Cutting too short creates gaps; slightly long is easy to file.
Assemble the Panel
Apply the included anti-seize to the wing bolts. Thread the bolts into the stainless center plate. Slide on the gaskets to create an insulation layer, then press the HDPE wings onto the bolts.

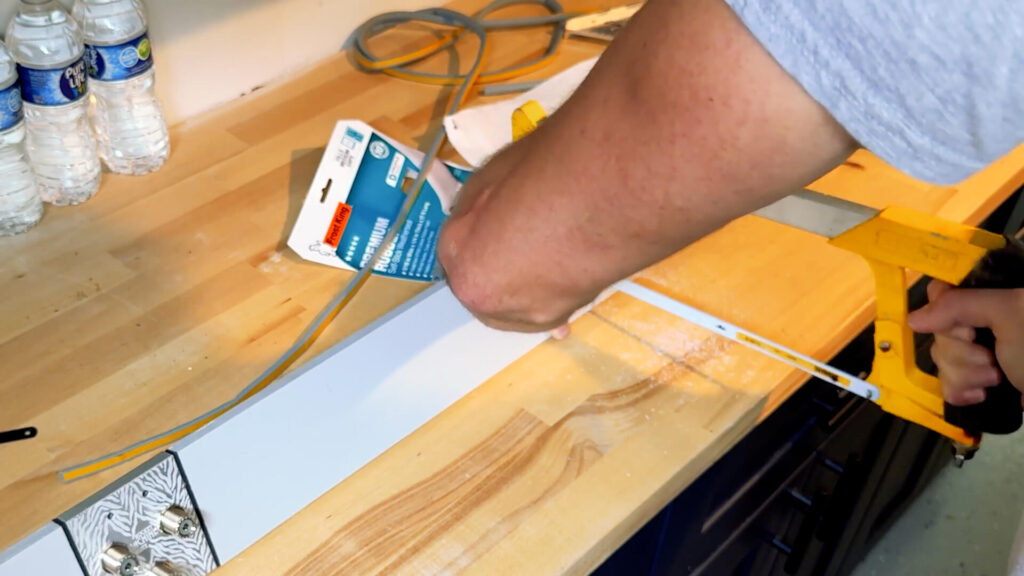
Cut to Length
Mark the wing with a pen. Use a square to draw a straight line, then cut with a hacksaw. Cut a little long, then file to a snug fit. Leave space for weather-strip at both ends.
Add Weather-Seal
Apply ⅜″ foam weather-strip around all four sides of the panel. This improves the air seal and keeps the shack comfortable year-round.
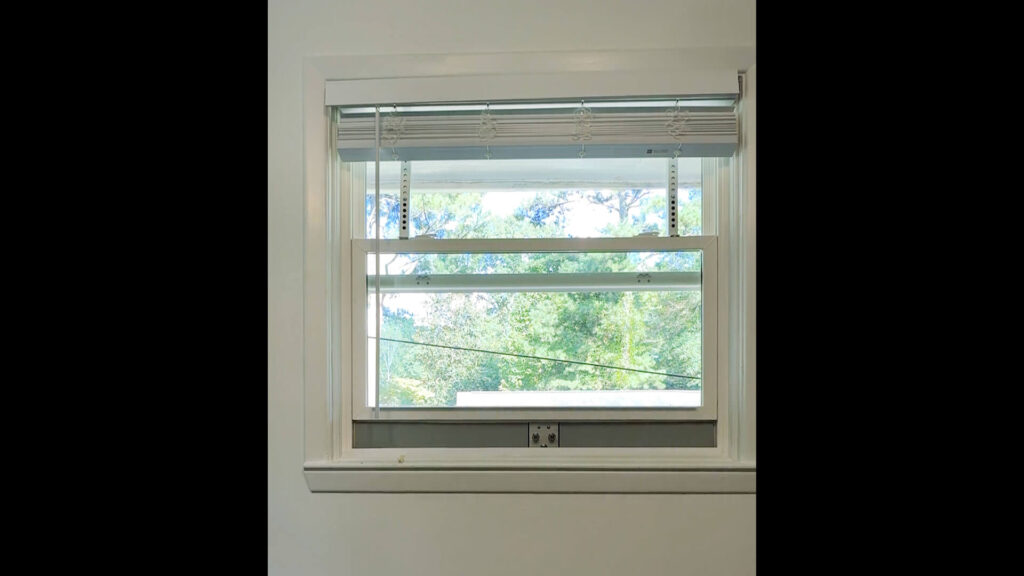
Test-Fit & Adjust
Seat the panel and close the sash. If it’s too tight, file a touch more. If gaps appear, add foam or thin shims. In a pinch, a small wood shim works.
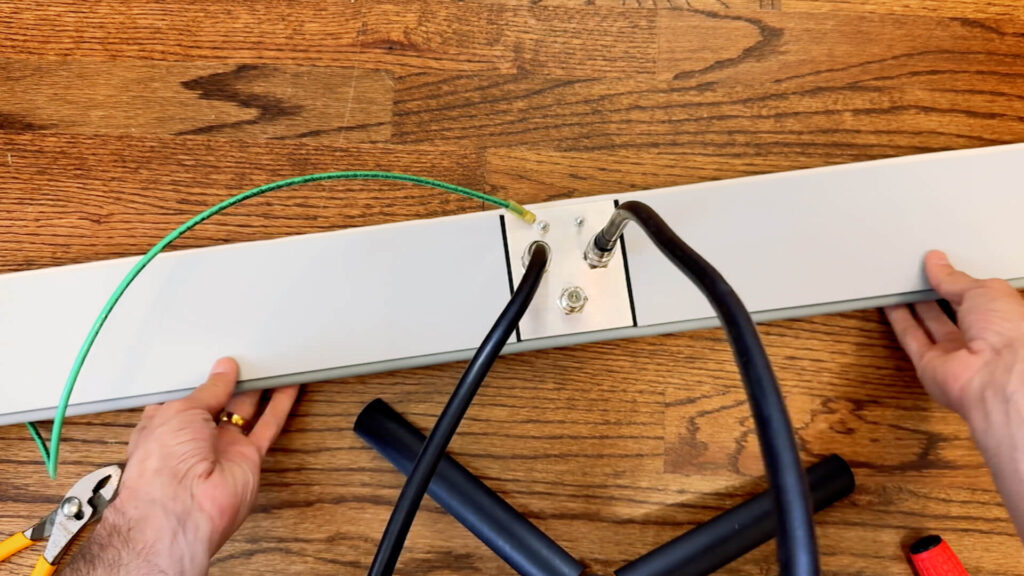
Attach Ground & Coax
Crimp a lug on 10 AWG green wire and bond it to the feed-through ground with stainless hardware. Route the wire to your station ground. Connect PL-259 coax jumpers. If you use lightning arrestors, place them near the ground rod outdoors.
Finish & Secure
Add a strain-relief eye hook for heavier coax (e.g., RG-8). Use window lock bars to apply pressure and improve the seal. Fill tiny gaps with seal tape. Now connect the indoor coax to your radio and enjoy operating on VHF/UHF and HF—no holes required.
Safety & RF Note: Always follow local codes and best practices for grounding and bonding. For RF exposure guidance, see the FCC’s page on Radio Frequency Safety.
Learn more antennas: See our guide to Ham Radio Antennas and our HF for Beginners article.


")