When setting up a permanent ham radio or GMRS antenna system, one of the most important — yet often overlooked — steps is proper grounding. Not only does grounding improve performance by reducing noise, but it’s also essential for safety, protecting your equipment (and your home) from electrical surges and lightning strikes.
In this guide, I’ll walk you through everything you need to know about installing a dedicated 8-foot ground rod for your antenna system.
Why Grounding Matters
Grounding isn’t optional — it’s a must. A properly installed ground rod:
-
Protects your shack from lightning and static buildup.
-
Balances electrical potential with your home’s ground system, preventing damaging surges.
-
Improves performance by reducing interference and noise on your radios.
⚠️ Important: Always bond your new ground rod to your home’s existing ground system. If you don’t, the two separate grounds could create dangerous voltage differences.
Tools & Materials You’ll Need
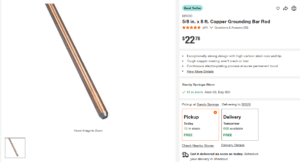
8-foot ground rod (available at Home Depot, Lowe’s, or most hardware stores)
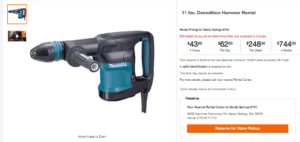
Rotary Hammer (what I used — lighter and easier to handle than a demolition drill). You can rent this from Home Depot or similar hardware stores. 11lb version, which is the smallest from Home Depot, will do just fine.
Ground rod driver attachment (fits on the rotary hammer). If you rent the rotary drill, ask for this attachment!

10 AWG Green Grounding wire or thicker to run from the antenna system to the ground

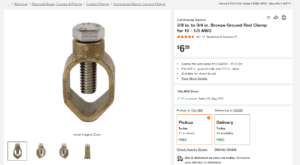
Grounding Clamps to connect the ground to the antenna system or run to the shack
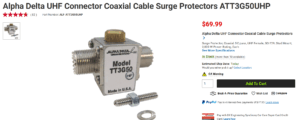
Lightning arresters for inline protection. Make sure it is rated for the amount of power you plan to use.
Utility marking service (call before you dig to avoid hitting underground lines!)
💡 Note: You can use a heavy hammer or sledge to drive the rod, but trust me — a rotary drill with the proper attachment makes this job much faster and easier.
Choosing the Right Location
-
Pick a spot that’s:
- Near your antenna system for an easy connection and fastest path to ground
-
Close to your radio shack entrance for easy cable routing, if possible
-
Clear of underground utilities (always call before you dig or drive)
Step-by-Step Installation
-
-
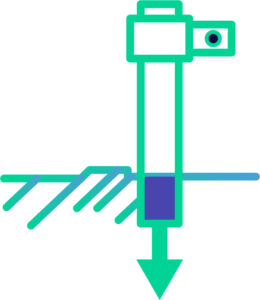
Start the Rod: Push the ground rod into the soil by hand a few inches, especially if your soil is soft.
-
Drill It In: Use your rotary drill with the rod driver attachment to drive the rod deep into the ground. For tough soil or rocky areas, the drill will save your back.
-
Leave a Few Inches Exposed: This allows you to easily attach your grounding wire and lightning arresters. Alternately, you can continue pushing the road until the top is flush with the ground, and dig around the ground rod to make your connections.
-
Bond the Rod: Connect this new rod to your home’s existing ground system with a proper bonding wire.
-
Run the Antenna Ground Wire: From your antenna system, connect the ground to this rod.
-
Install Lightning Arresters: Add them inline to protect your radios from strikes and surges.
-
Troubleshooting cheatsheet
-
Noisy decode? Go outdoors, shorten coax, add an LNA/filter, and move away from USB noise.
-
Weak images? Wait for a higher-elevation pass, re-aim, adjust gain, verify polarization.
-
Doppler drift? Enable correction; tweak frequency mid-pass if needed.
-
Indoors? 137 MHz may work near a window; L-band almost always needs an outdoor dish.
After Installation
- Once your ground rod is in place and bonded, your system is far more secure. But grounding isn’t just about the hardware — it’s about peace of mind. With this setup, you’ve taken a major step in protecting your equipment, your home, and yourself.
Final Tips & Advice
-
If you’re not comfortable with electrical work or grounding, hire a licensed professional to help.
-
Always check local codes — some areas require more than one ground rod.
-
Grounding is not glamorous, but it’s one of the most important things you can do for your station.
Wrapping It Up
Installing a ground rod might sound intimidating, but with the right tools, it’s a straightforward DIY project most radio operators can tackle in an afternoon. I used a rotary drill with a rod driver attachment — and the difference in effort compared to hammering is night and day.
Whether you’re running ham radio or GMRS, good grounding ensures your system is safer, more reliable, and ready to handle whatever the bands (or the weather) throw at you.


")