If you’ve ever been frustrated by the limited range of a handheld ham radio, upgrading to a rooftop VHF/UHF antenna is one of the best ways to boost your station’s performance.
In this guide, I’ll walk you through every step of installing a dual-band rooftop antenna for the 2m and 70cm bands — from grounding and mounting to testing and making your first contact.
Whether you’re setting up your first home base station or improving an existing setup, this article will help you do it safely, effectively, and confidently.
Safety First

Working with antennas, electrical systems, and rooftop mounts can be dangerous. Always follow local electrical and building codes, use proper tools, and stay far from power lines.
Important: Operating on amateur radio frequencies requires an FCC license. If you need to get or upgrade your ham license, head to hamradioprep.com — it only takes a few hours of study, and you can even learn from their mobile app.
Station Overview
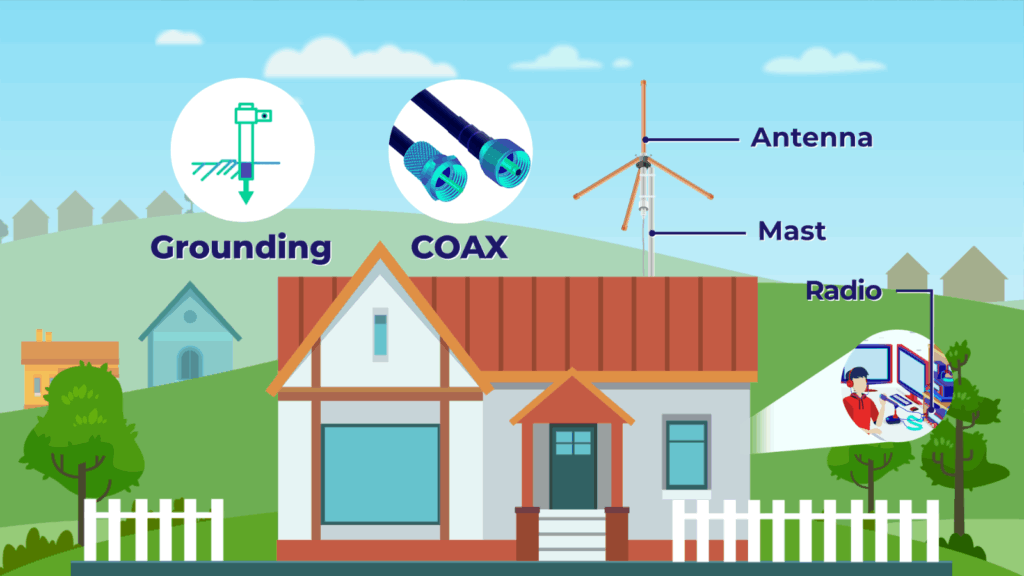
Here’s what makes up your basic home station setup:
-
Antenna – The most critical component for range and clarity.
-
Mast – The pole that supports your antenna.
-
Coaxial cable (COAX) – Connects your antenna to your radio.
-
Ground rod – Protects your equipment and dissipates static and lightning.
-
Radio – Your base station or transceiver.
We’ll cover how to choose, mount, ground, and test all of these step by step.
Grounding: Your First and Most Important Step
Proper grounding protects your equipment and home from lightning and electrical surges.
Materials You’ll Need:
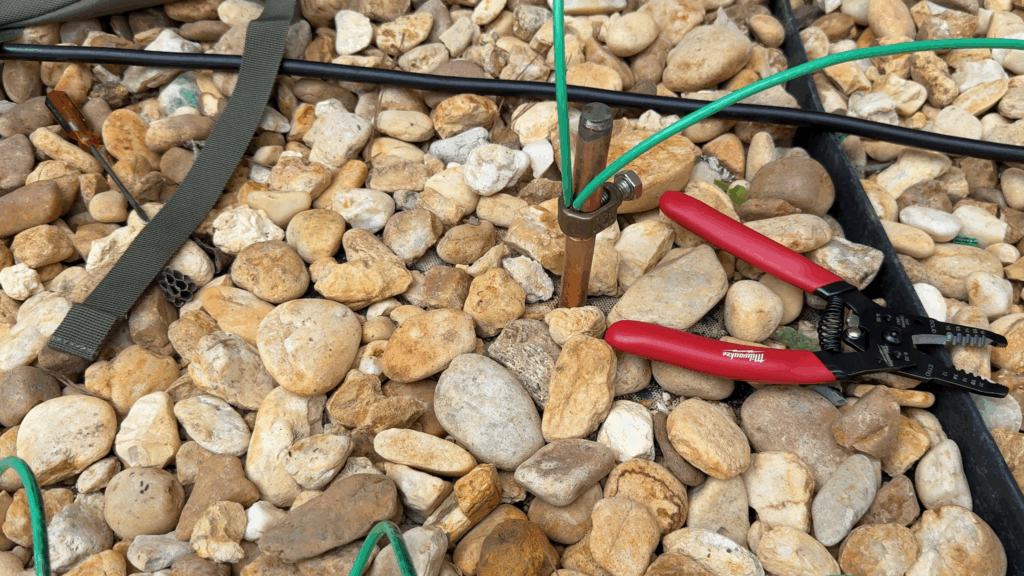
Drive the rod into the ground near your station (watch for underground utilities first). Bond your new ground rod to your home’s main electrical ground using #6 AWG copper wire.
This ensures both systems share the same electrical potential and prevents dangerous current from flowing through your shack during a surge.
If you haven’t installed a ground rod before, check out our grounding guide for a detailed demonstration.
Choosing the Right Antenna
For local ham radio communications, a dual-band 2m/70cm vertical antenna is ideal.
These frequencies are used for repeaters and simplex contacts and typically offer 25–30 miles of range, depending on your antenna height and environment.
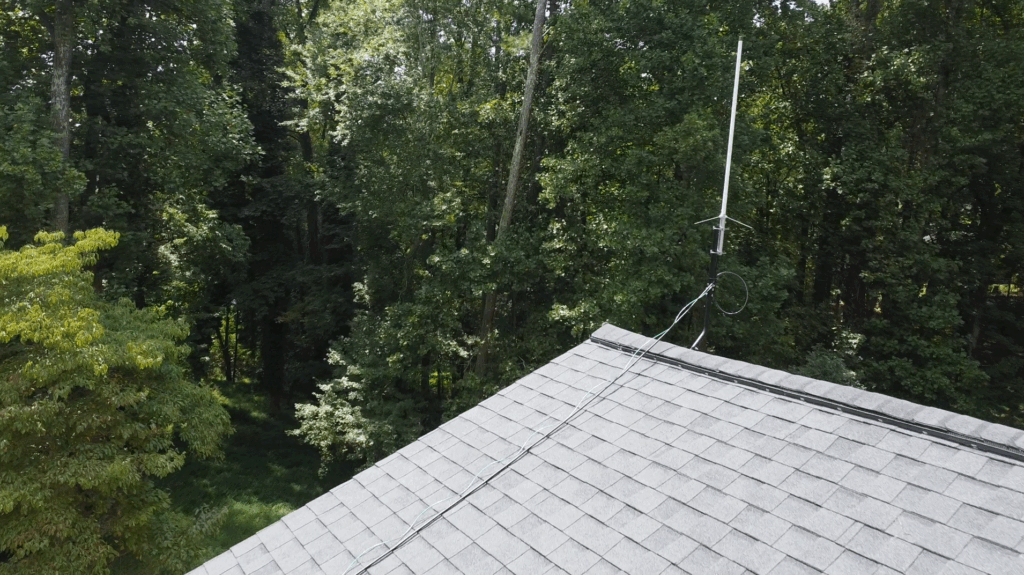
We chose the Diamond X30A, a compact yet high-performance dual-band antenna perfect for rooftops and small spaces. Longer antennas often provide more gain, but they can be heavier and require sturdier mounts.
Recommended Radios
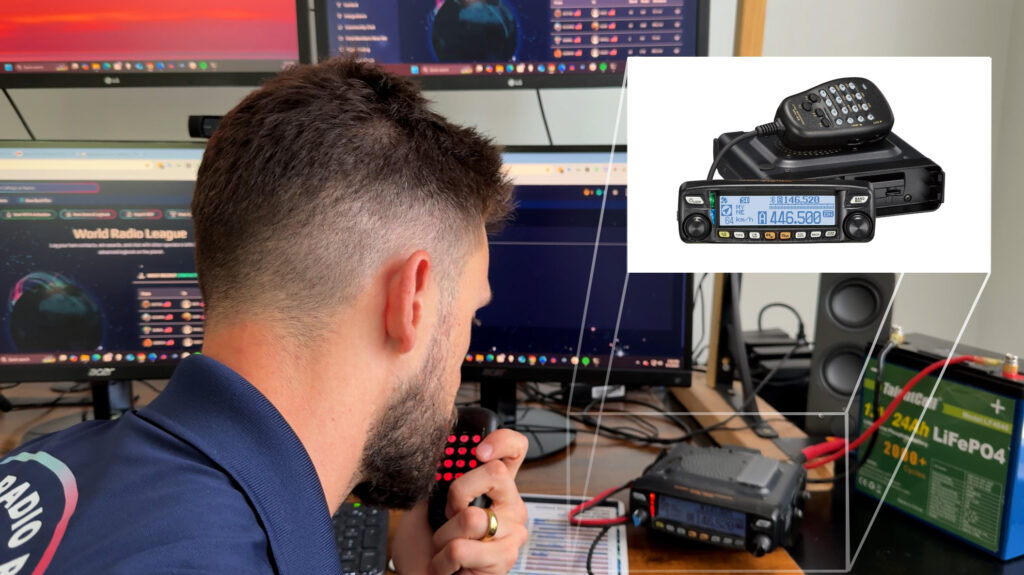
While you can connect a handheld radio to your new antenna, a 50-watt base station delivers far better performance.
We used a Yaesu FTM-100D, but any reliable dual-band transceiver will work. I’ll include a few other great base station options in the downloadable materials list.
Mounting Options: Height Is Might
The higher your antenna, the farther your signal will reach.
Common Mounting Options:
-
Chimney Mount: Uses straps to secure to your chimney.
-
Wall or Eave Mount: Attaches to the side of your home without drilling into the roof.
-
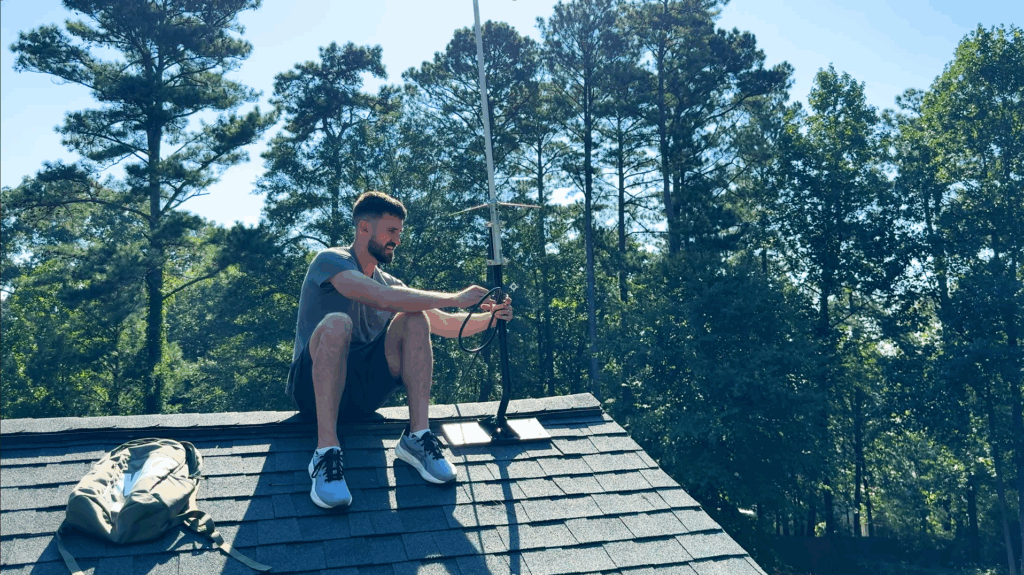
Rooftop Mount: Bolts directly to your roof for maximum height and performance.
⚠️ Safety Tip: Keep your mount at least twice the antenna’s height away from power lines.
We used a roof mount for this build, reinforcing it with a 1×6″ treated wood base for stability and sealing the screw holes with waterproof tape afterward.
Installing the Mount and Mast
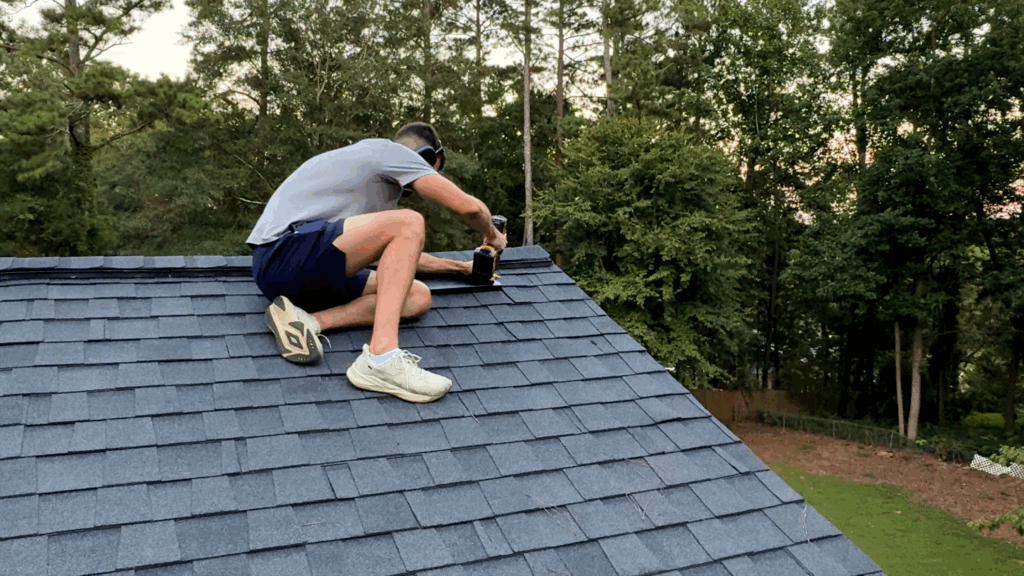
- Mark and drill pilot holes where your mount will attach.
-
Secure the base using outdoor-rated screws.
-
Check alignment with a level — a straight mast equals better signal.
-
Tighten all brackets securely.
Building the Antenna on the Ground
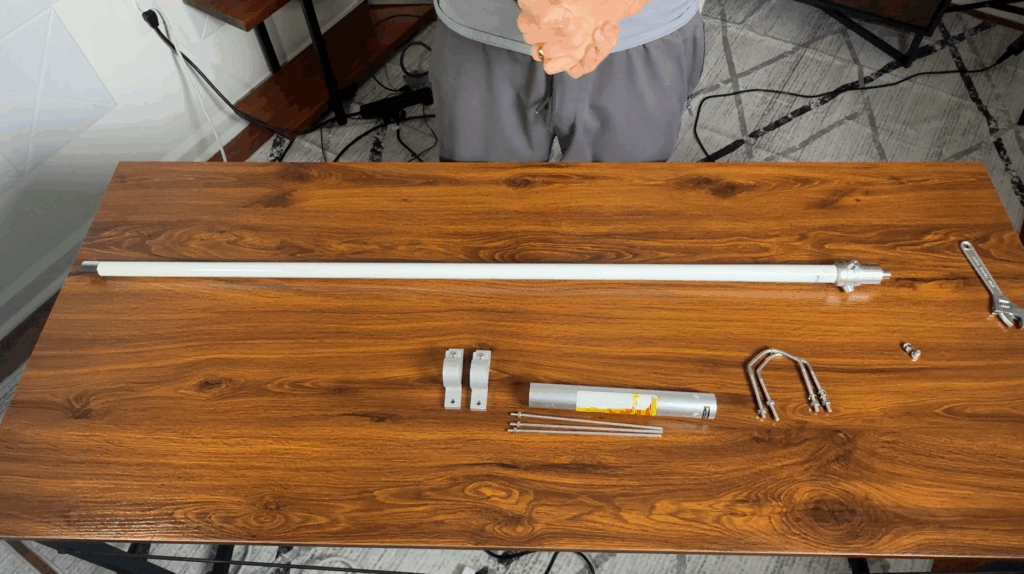
It’s easier to assemble your antenna before climbing onto the roof.
For the Diamond X30A:
-
Screw in the three radials (these act as a ground plane).
-
Attach the mounting brackets to the base.
-
Feed your COAX cable through the mount and connect it to the antenna’s SO-239 connector.
Use LMR-400 or RG-8X coax for best results. These thicker cables reduce signal loss — especially important for VHF and UHF frequencies.
Add strain relief loops secured with zip ties and electrical tape to protect your connectors from pulling.
Checking the SWR
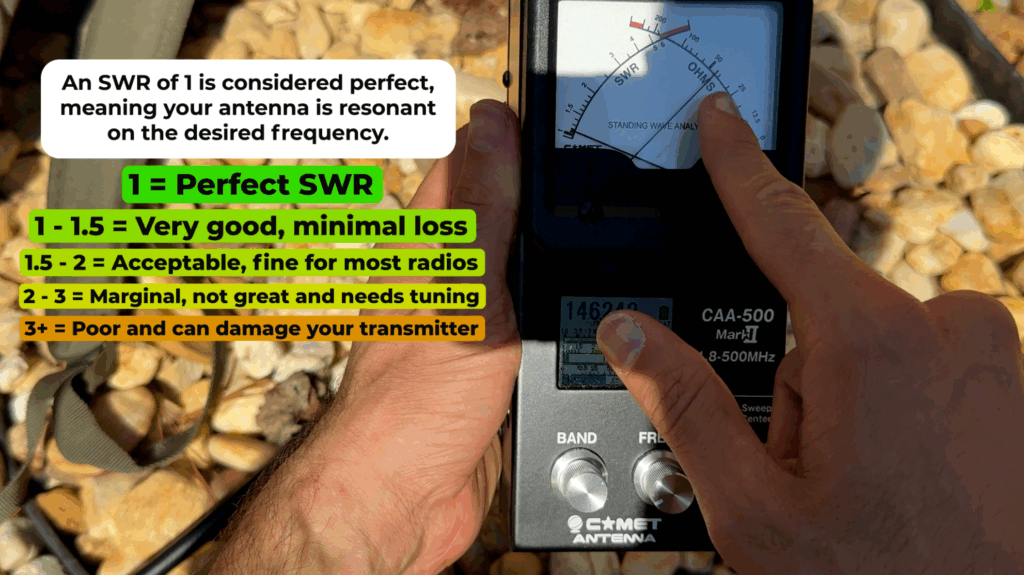
Before connecting your radio, test your antenna with an antenna analyzer.
-
A 1.0 SWR means nearly perfect power transfer.
-
Anything below 1.5 is great.
-
Avoid readings above 2.0, which indicate poor tuning or bad connections.
We tested at 146.520 MHz (the 2m national calling frequency) and got a near-perfect SWR of 1.0.
Grounding and Lightning Arrestors
Before you start transmitting, take a few minutes to ground your system correctly.
-
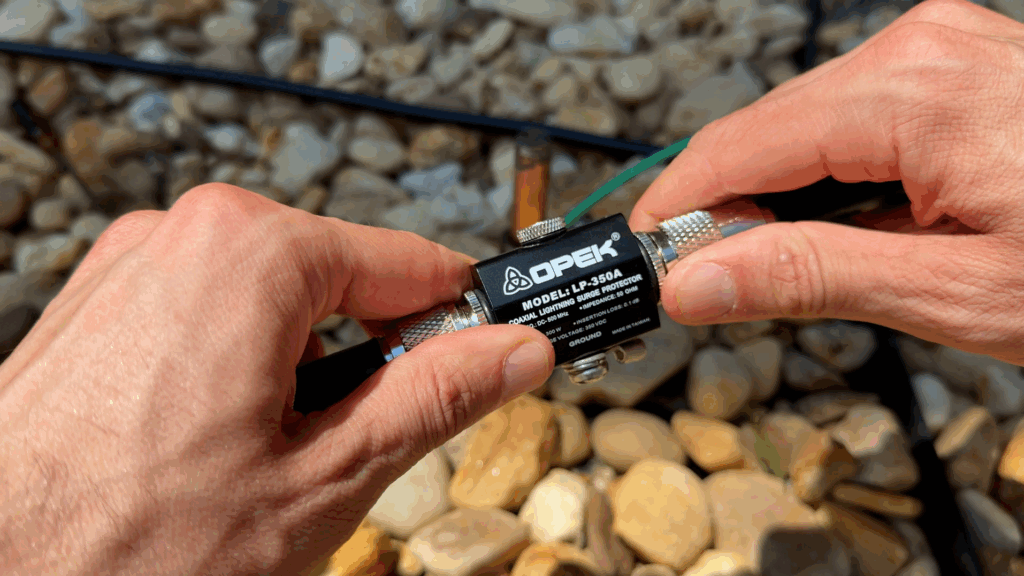
Install a lightning arrestor inline on your coax cable, just before it enters your shack.
-
Connect the arrestor’s ground terminal to your dedicated ground rod using 10 AWG (or thicker) wire.
-
Ground your antenna mast and mount as well, ensuring metal-to-metal contact.
Lightning arrestors act like a fuse — redirecting dangerous current safely into the ground instead of your equipment.
Finally, bond your antenna ground rod to your home’s main ground rod with #6 copper wire.
Running the Coax
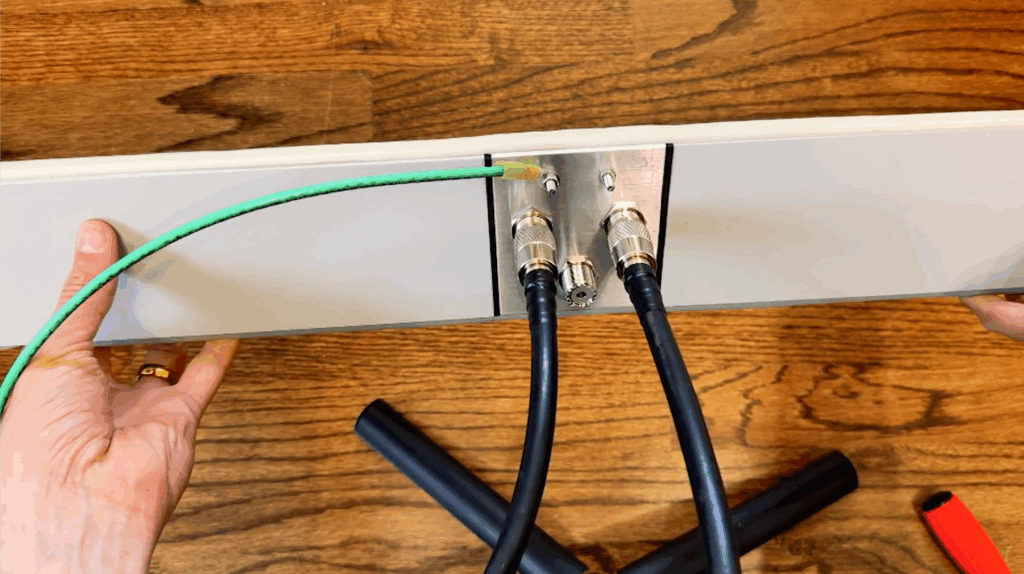
Run your coax from the lightning arrestor into your shack. We used a window feed-through panel from Rocket Machine Worx, which allows the cable to pass through the window without drilling holes in the wall.
Seal any exterior connections with electrical tape or coax seal to prevent moisture damage.
Check out our Window Feed Through Installation guide for a detailed demonstration.
Connecting and Making Contacts
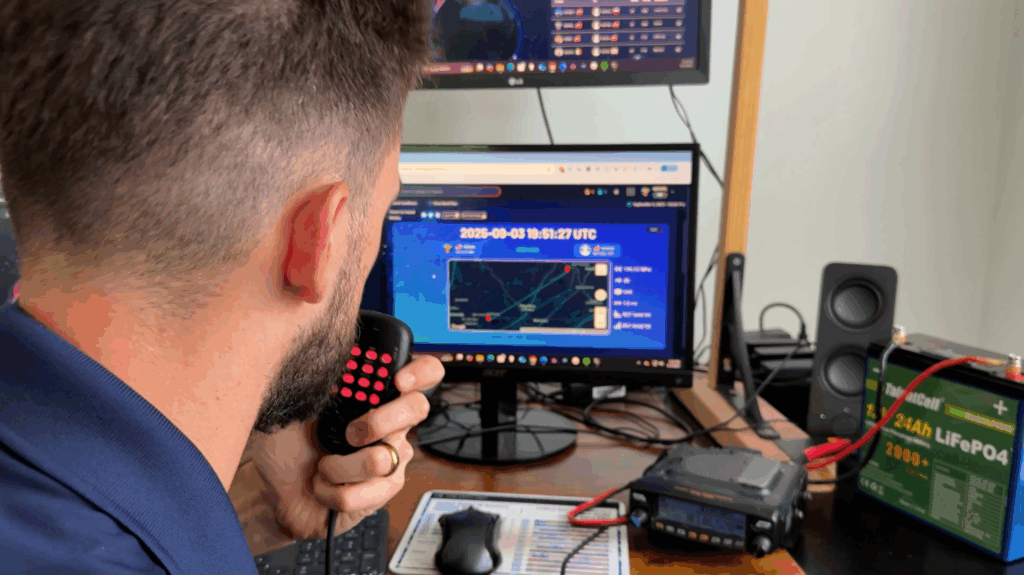
Now the fun part — connect your radio and start operating!
Tune to 146.520 MHz, give your call sign, and say you’re “listening on the national calling frequency.”
Within minutes, I made two contacts about 10 miles away — proof that the rooftop antenna dramatically extends your range.
You can also program your local repeaters and enjoy crystal-clear communications.
Improvements and Upgrades
-
Improve cable routing and weather-seal all coax connections.
-
Experiment with HF antennas like an End-Fed Half Wave to reach stations worldwide.
-
Add backup power options like a battery or solar setup for emergency use.
If a permanent mount feels intimidating, start small with a portable dual-band antenna or a balcony mount to practice before committing to a full install.
Final Thoughts
Building your own home ham radio station is one of the most rewarding projects in the hobby.
With the right tools, safety precautions, and a little patience, you can transform your handheld experience into a powerful base station that connects you to the world.


")